
Pinned post
💥💥💥鬼星开穴炸翻整个大唐💥💥💥
Pinned post
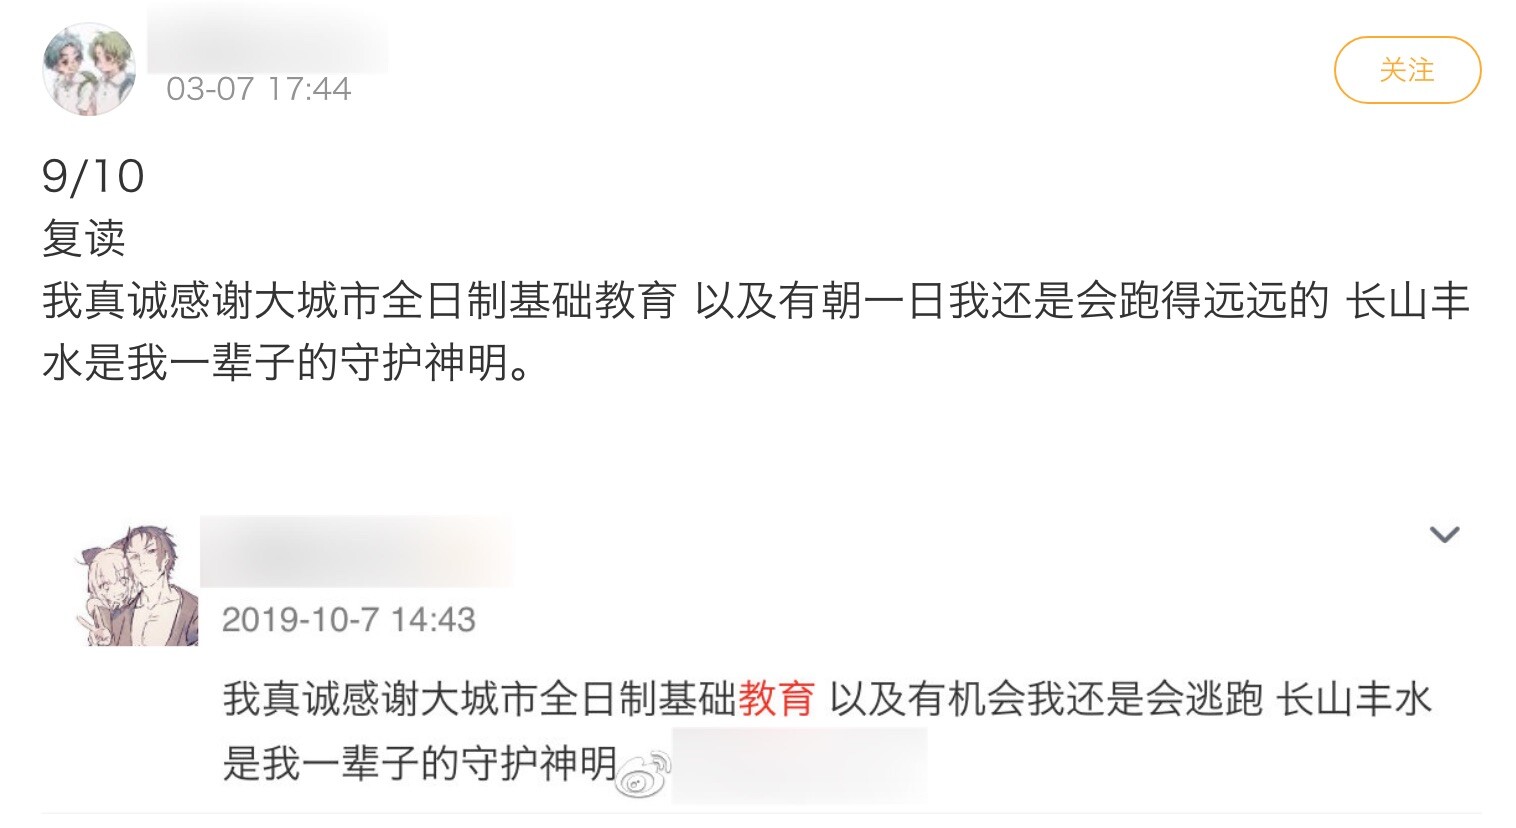
洋葱害我。。。。。
Pinned post
自用,记一个2024待看清单【实时更新中】
游戏类:
与君盟 (多少年了 )
极乐迪斯科(多少年了! )
博德之门3
逆转裁判系列
网文类:
花近江国(240819-240911)
诡秘之主(在听了在听了)
西出玉门
莲花楼吉祥纹
鬓边不是海棠红(多少年了!!)
穿成师尊,但开组会
求生在动物世界
祝姑娘今天掉坑了没
电视剧类:
大宋少年志1,2(真的我要看2吗我真的要看2吗)
戏剧类:
桃花扇
哗变(多少年了!!!)
视频类:
FF7剧情
FSR剧情
谢李剧情
Pinned post
很迷惑,为什么越游泳越重…归根结底这个减脂究竟要怎么个整法我晕了
不是我有灯门滤镜,但是110奉天赛季的歌都太好听了,表现为即使我在掐着嗓子也每一遍都跟唱赴狂澜,门派歌更是…
每次觉得乘物游心也是人也是有不擅长的点的时候就有歌来打我的脸,怎么能有人把长句断句运用得如此纯属,仿佛汉语就是他发明的一样,难以批判(这在我这里已经是至高评价了要知道
啊啊啊啊随处乱掐天策屁股!!!(压力太大要爆炸了
五一期间游泳了几天
鉴于距离上次进泳池已经过了一年多,之前也是游游停停非常痛苦地游圈,所以一开始其实有点忐忑这个一千米我有没有毅力游完
但是其实过程非常顺利,划着划着!400了!划着划着,800了!划着划着,游完了!
要不是中间泳镜坏了上岸换了个新的泳镜,这个1000的配速我能控制在30min左右没有太花力气
思考了一下还是要感谢去年爬坡的自己。每顿45min不但改善了身体上的运动耐力,更是改善了心理上的运动耐力,表现为,没那么容易觉得无聊了
但是还是手痒痒想买个索尼游泳戴着,正好还能当耳塞还能练习自由泳!一举多得了(行了吧你下次指不定什么时间才能有工夫游呢
一个工作日晚上散排意味着
A. 排三分钟,过图5分钟,终于进去了发现自己早已经凉透了
B. 排三分钟,顺利过图,进去10秒被拧死
C. 劫镖&反劫镖至少俩小时
D. 以上所有
他妈的余玉贤这就是你给我呈现的pvp玩法是吗我真的草了
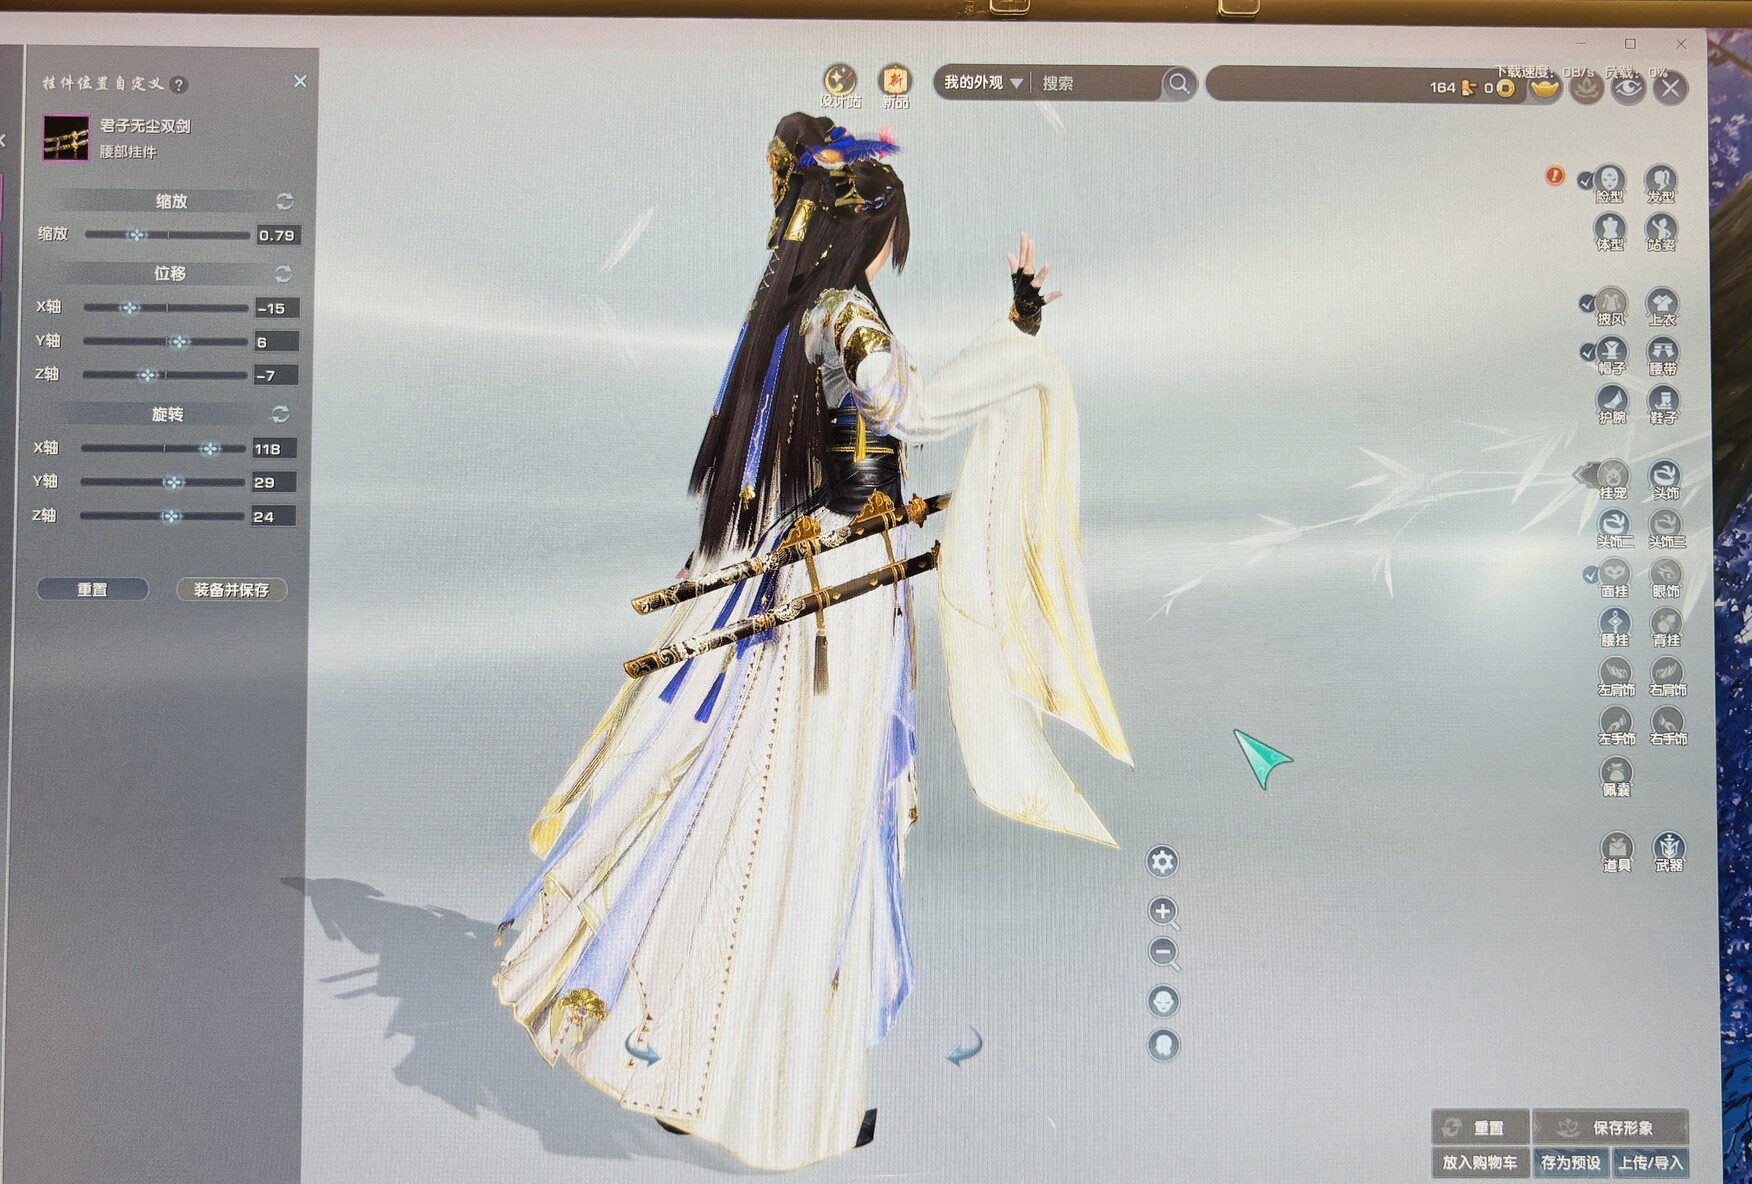
高壮妹不配买好看衣服?
我不配拥有段落轴?
唉今年一定学会捏图
压力一大就想生小号,这次生个灯爹叫太玄晶得了
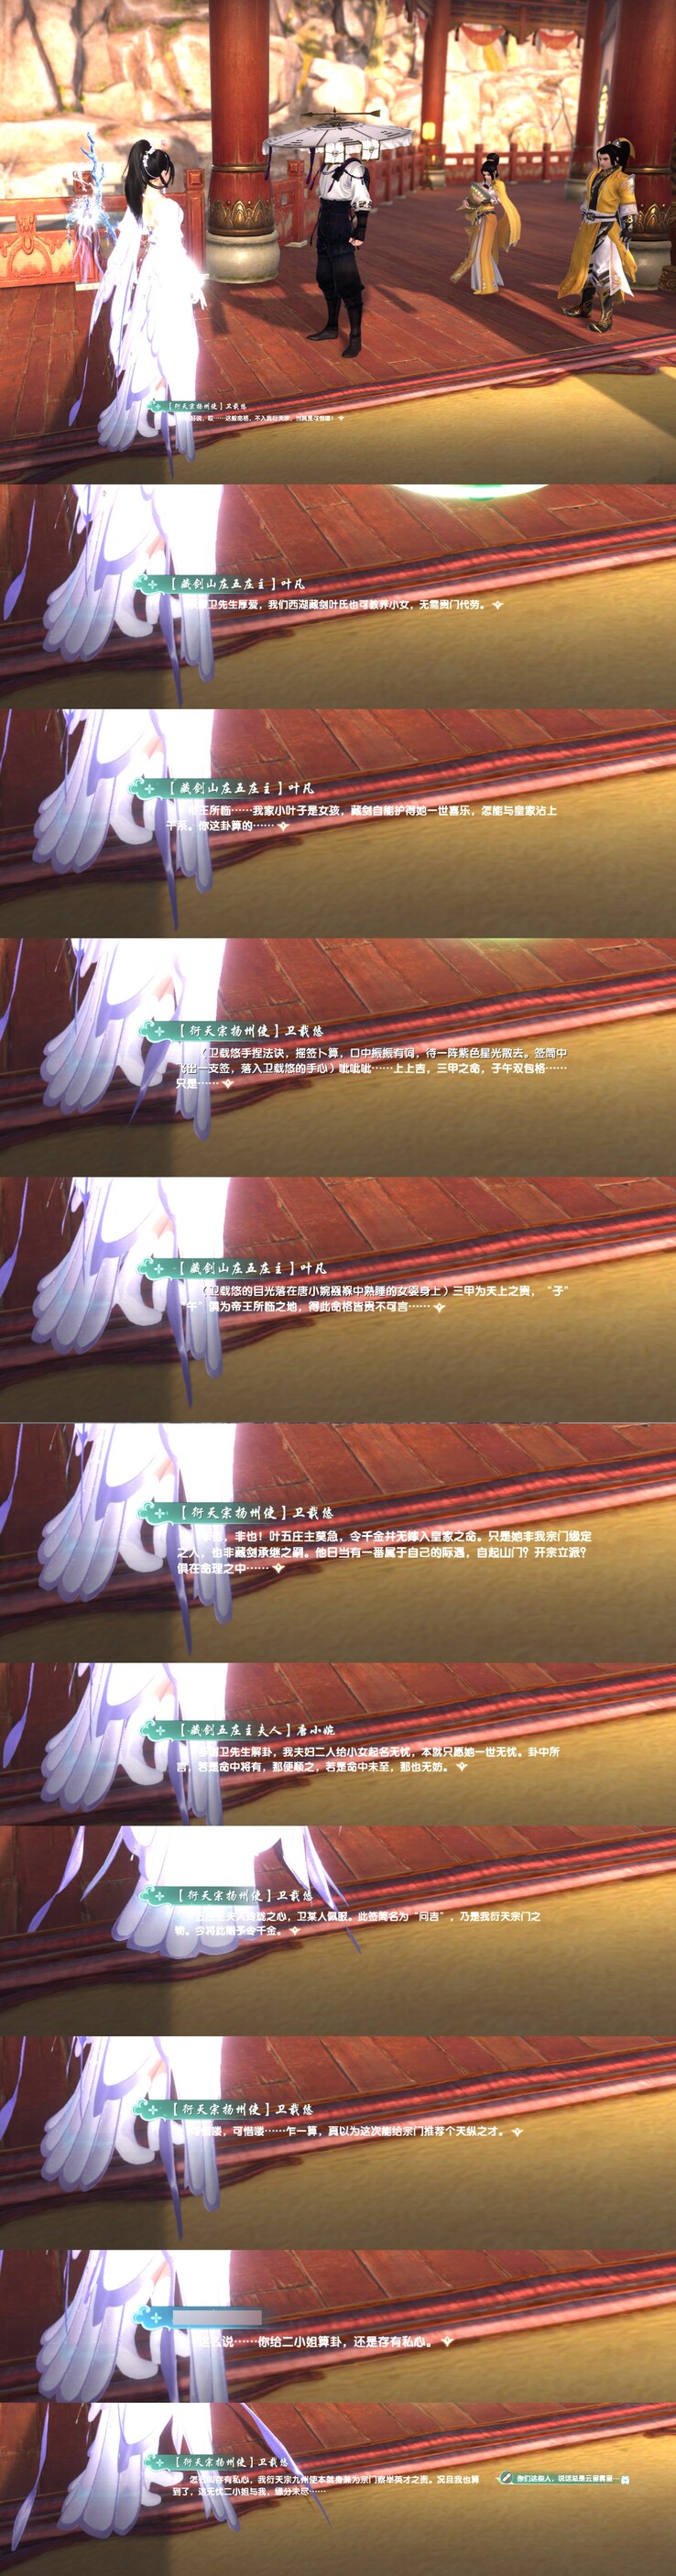
有时候不得不相信门派玄学,我们衍天宗招生就是这样的,任性!自由!突然!没有计划!没有流程!毫无伤害力!
抠着脚就被送来入学通知书了
玩着泥巴就被送来入学通知书了
下着斗就被送来入学通知书了
和那种我一定要考上清华北大我一定要考进天策府万花谷完全相反
上课听没听不重要,考试过不去就重修,反复重修,重修到死也没人care,到了时候出宗门历练也没有那么具体的每日目标,主要是每日观察人道鬼道天道,就此干一点能干的,但是大部分时间也没办法强力矫正什么
没有目标茫然无觉也可以有精彩的际遇和平平无奇但是丰富的人生呀…
谁成想呢
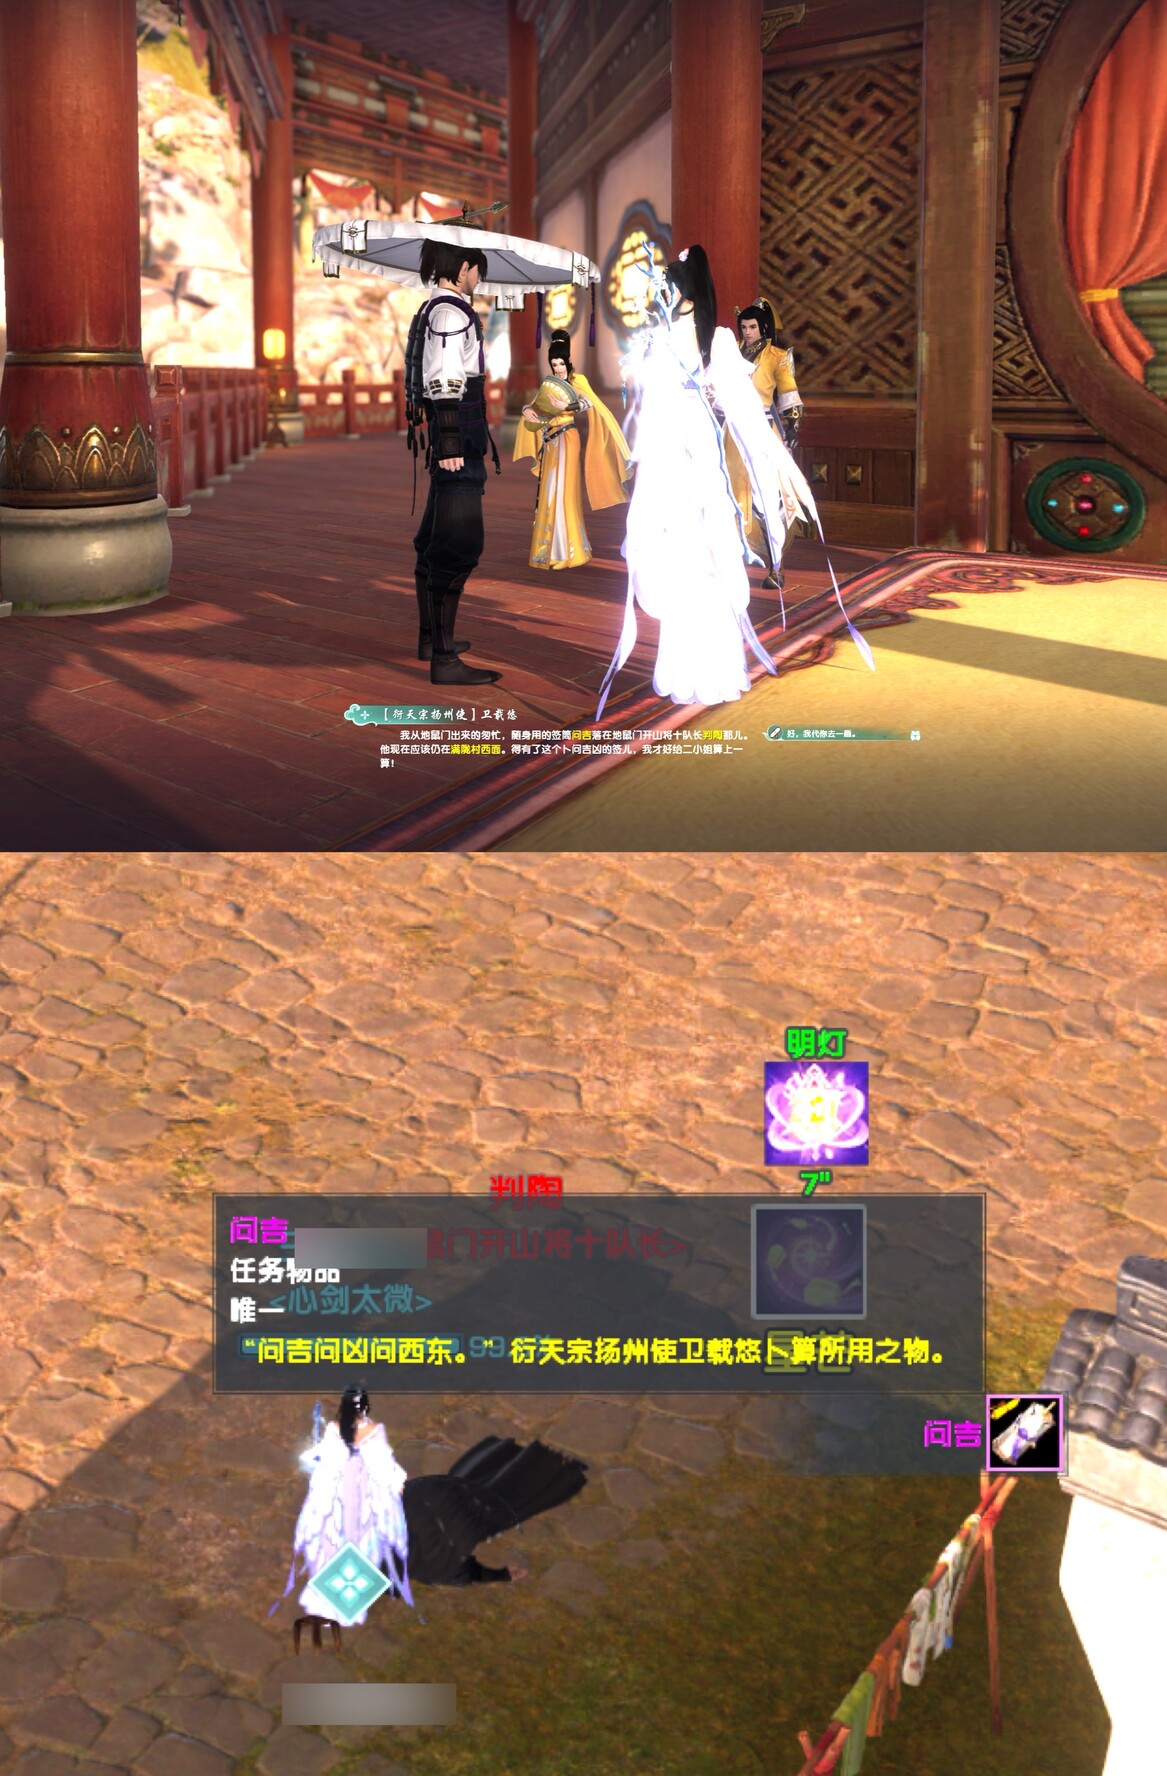
多少狐反复碰瓷朝思暮想的问吉
你卫载悠还丢了一下
好想揍你哦卫载悠!
算了看在积极招生的份上这次不使用灯灯拳了
呜呜呜真的能看到小叶子的后续剧情吗这是难得的有缘叽萝啊!
不管了,藏衍嗑一口
不行了nl和霓这版翻唱完全不对
不说混音的问题,毕竟抠干音不可能完全抠干净,这曲子也不是给男声写的,即使能降调但是在相对低的音域显得笛子特别不合适
关键在于霓的这个拖长腔!可以说是很特色甚至和某些门派绑定的腔调,他就不适合这种吐字一定要干净像蹦豆子一样的歌词,由他唱完全没法发挥自己的特色和曲风乃至歌词
就这弹幕还对味,真是厕品
总览几位我认识的奶,虽然周慕云也是英雄奶妈但是看十分钟我心中毫无波动,虽然昨晚的两个奶药也都飞得我能学八十天但是看十分钟我心中毫无波动,奶鸽看不明白,以及我恐虫
懂了,我是i奶花
如何形容呢,你们小师赛把我骗进jjc只需要一句话“(花舞剑)他还在利针!”
天杀的那时候我看花里胡哨的比赛画面上哪个是血条都找不到,更不知道利针是什么,也不知道花舞剑
但是就这么被骗上拭剑不是断头台!
唉!不愧是花舞剑严选刀宗!
个人私以为忆旧年的奶花非常平民,明显差花舞剑一个身位,同时控场和大局排布也明显不如花海
但是这个游戏死前我要是能有忆旧年这个奶花水平已经够我笑着进火化炉了(x
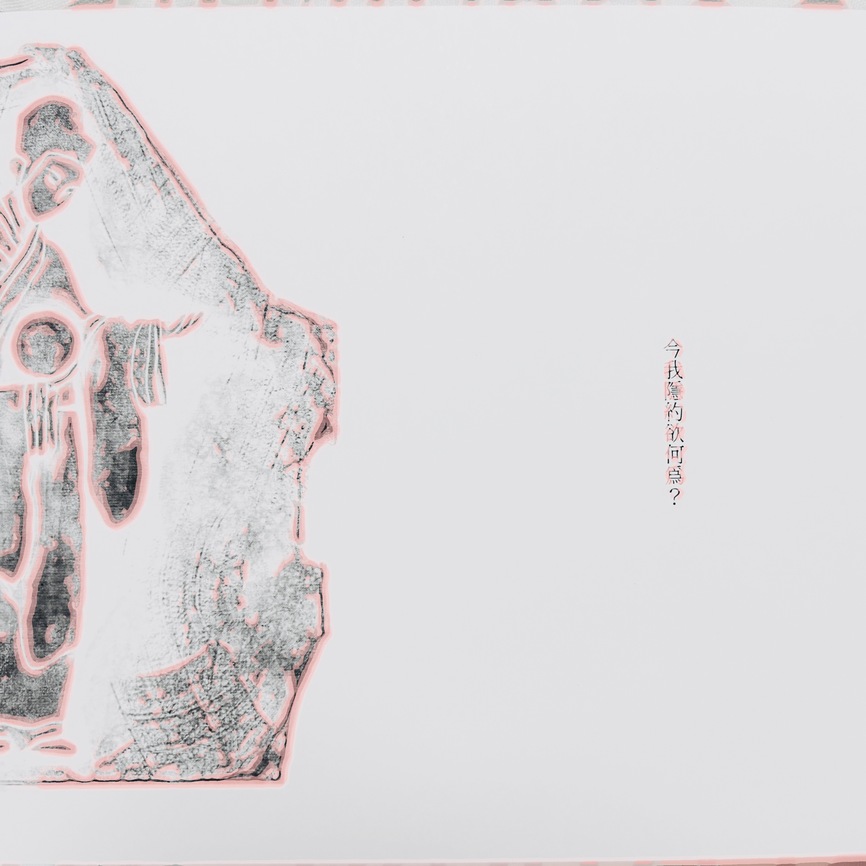
看完了正碑之后越发觉得那些叫嚣学书法一定从峄山开始学的人纯粹有大毛病应该和学弟子规那群傻逼坐一桌去
从三十岁开始的网游生活
Joined Mar 2023
